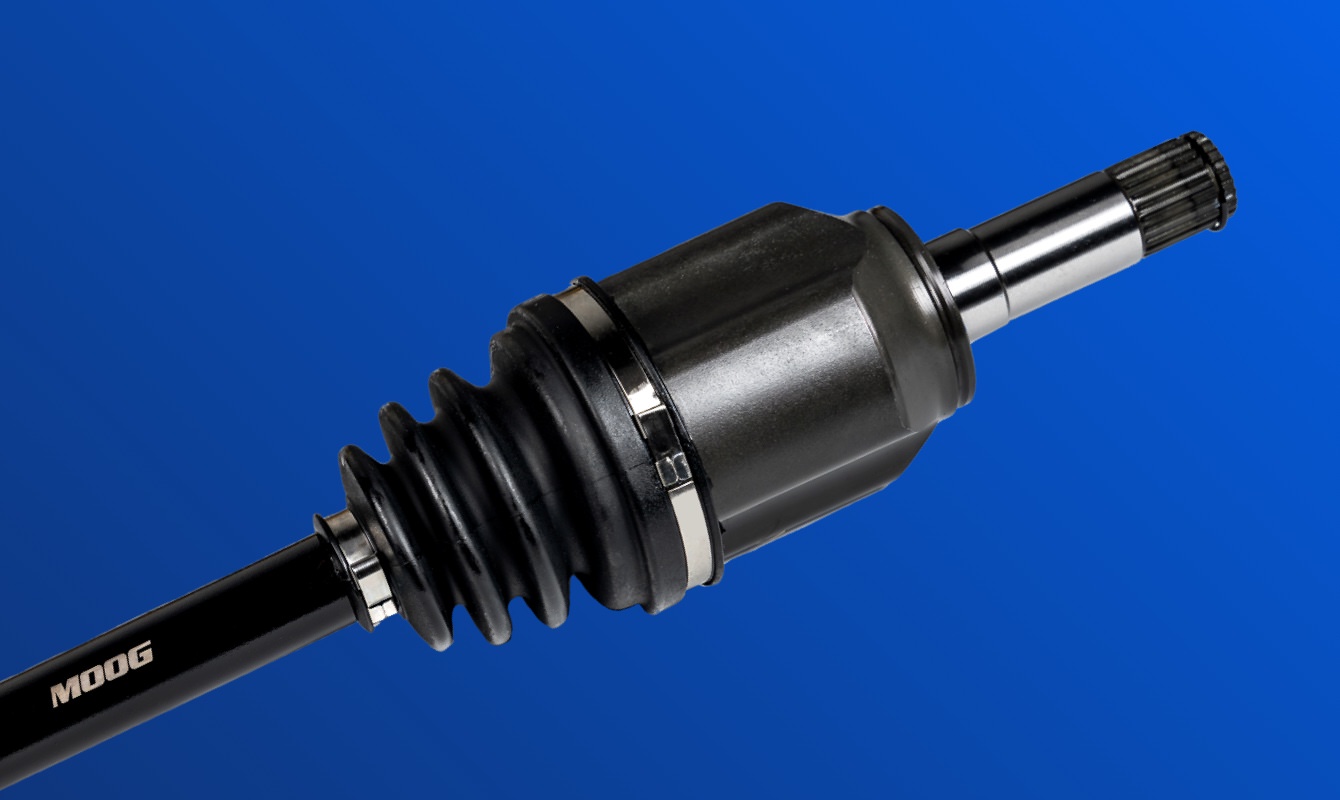
What is a CV Axle?
Constant velocity (CV) axles are a key component of front-wheel drive (FWD) vehicles. Designed to take power from the transmission and transfer it to the wheels, CV axles allow the vehicle to travel down the road, move over bumps, and turn left and right. Also known as a half shaft or axle shaft, CV axles constantly maintain the velocity of the wheel and axle rotation no matter the angle of the axle or wheels.
Steps for Removing and Installing a New CV Axle
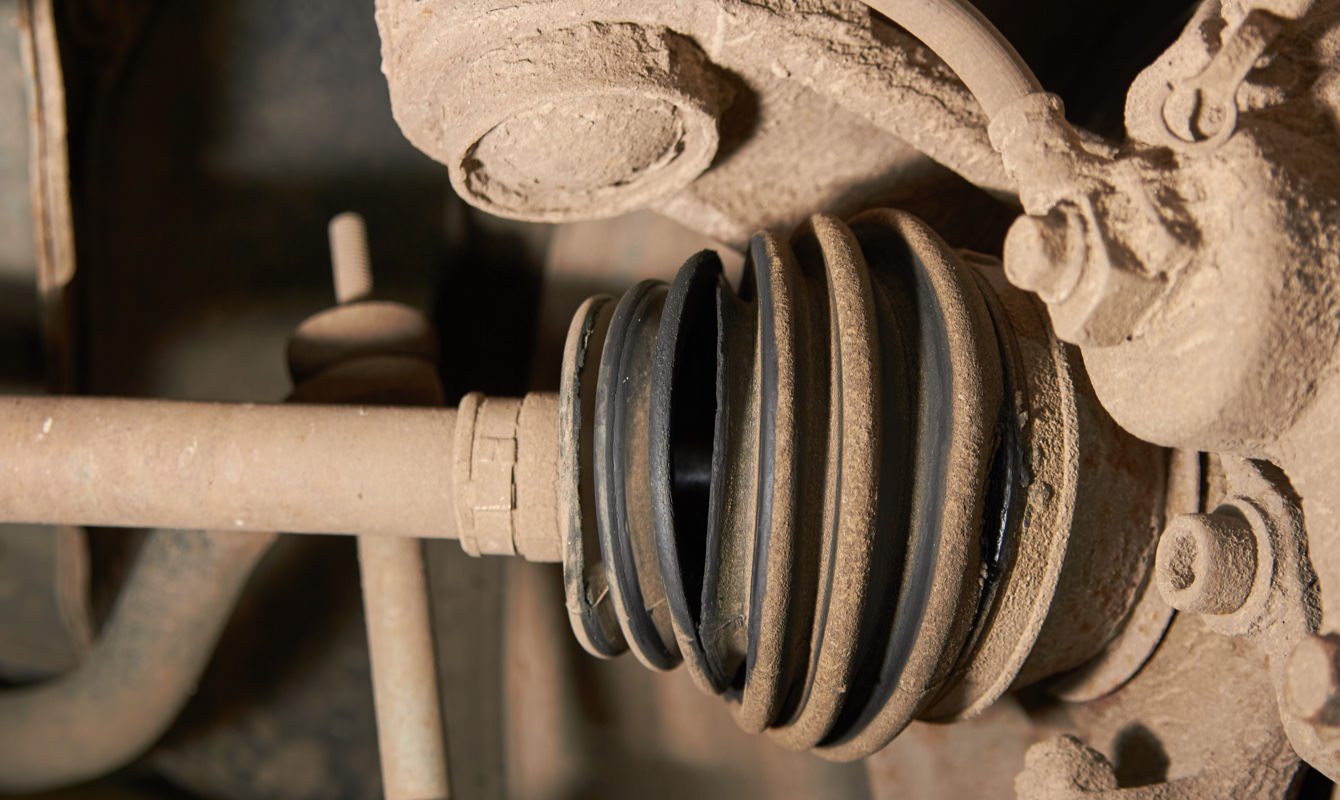
Worn CV axles can have an adverse effect on how your vehicle handles. When it’s time to replace a constant velocity axle, follow these steps for a successful repair.
Before You Replace Your CV Axle
- Select the correct MOOG CV axle for your application by consulting our part finder.
- Download and review the instruction sheet.
- For questions or concerns, contact Gurus On-Call at 1-800-325-8886.
- Note – This is an overview of the steps necessary for a CV axle replacement. Be sure to consult the OE service information for the proper procedure for your specific application.
CV Axle Removal
Step 1
Loosen the spindle nut and wheel lug nuts.
Step 2
Lift the vehicle and remove the wheel.
Step 3
Remove the ball joints, control arms, tie rods and any other suspension parts that are necessary to remove the CV axle. Refer to the vehicle manufacturer’s service manual for proper procedure.
Step 4
Remove the axle-retaining nut/bolt.
Step 5
Separate the CV axle from the wheel hub. Take care to not damage the ABS sensor (if equipped).
Step 6
If the inner CV joint has a flange that bolts to the transmission, remove the bolts and separate the axle from the flange.
Step 7
If the inner CV joint plugs into the transmission and is retained in the
transmission by a circlip, remove the CV axle from the transmission using a CV removal tool that attaches to a slide hammer. Do not pry or strike the axle to loosen it from the transmission. Use caution to not damage the transmission oil seal while pulling the axle out. Inspect the transmission oil seal for any damage and replace if necessary.
Step 8
Clean the splines on the wheel hub and transmission to remove any dirt and
debris. For flange-style transmissions, clean the flange and bolt holes and inspect the condition of the bolt hole threads.
CV Axle Installation
Step 1
For flange-style inner CV joints, apply thread-retaining compound to the bolts as necessary and bolt the axle to the flange. Torque the bolts to OE specifications.
Step 2
For inner CV joints that plug into the transmission and are retained in the
transmission by a circlip, slide the inner joint into the transmission until the circlip locks in place. After installation, pull the inner joint housing gently to ensure proper installation. For CV axles equipped with axle carrier bearings, ensure the bearings are properly seated in the carrier bracket.
Step 3
If the inner CV joint plugs into the transmission but doesn’t have a retaining
circlip, slide the inner joint into the transmission to ensure proper installation. For CV axles equipped with axle carrier bearings, ensure the bearings are properly seated in the carrier bracket.
Step 4
Install the CV axle to the wheel hub. Take care to not damage the ABS sensor (if equipped).
Step 5
Tighten the ball joints, control arms, tie rods and any other suspension parts that were disassembled to remove the CV axle. Torque the parts to their proper OE specifications.
Step 6
Use the new axle retaining nut/bolt and torque as directed by the OE service
information.
Step 7
Reinstall the wheel and torque the lug nuts to OE specifications.

Learn more about premium steering and suspension parts, find your car part, or find where to buy your auto part today.
The content in this article is for informational purposes only. You should consult with a certified technician or mechanic if you have questions relating to any of the topics covered herein. Tenneco will not be liable for any loss or damage caused by your reliance on any content.