Getting The Repair Done Right
From selecting the right parts to following industry best practices, attention to detail is essential for a successful suspension repair. One critical step is properly torquing fasteners – a process that becomes even more important when working with aluminum suspension components. The following tips will help ensure proper torque is applied to aluminum suspension parts, reducing the risk of deformation or failure.
Increased Use of Aluminum Chassis Parts
To reduce vehicle weight and improve fuel efficiency, many manufacturers now use aluminum chassis components. These are now common in models such as the 2011-2019 Ford Explorer, 2014-2016 Chevrolet Silverado 1500 and GMC Sierra 1500, and 2011-newer Ram 1500. Proper torquing is especially important for ball joints and tie rod ends. If fasteners are not tightened to specification, it can lead to premature wear – or in severe cases, catastrophic suspension failure.
Problems Caused by Improper Torquing
Due to its material properties and structural characteristics, aluminum chassis parts are highly susceptible to improper torquing. Both over-torquing and under-torquing can lead to significant unintended consequences, affecting performance, safety and longevity. If the correct torque is not applied, it can result in:
Loose Suspension Components
Under-torquing may cause fasteners to loosen over time due to vibrations, reducing the stability of suspension parts.
Premature Wear
Loosening and shifting components experience excessive movement, which can accelerate wear and increase the risk of failure.
Reduced Structural Strength
Over-torquing can lead to stress fractures in aluminum, compromising the part’s integrity and increasing the risk of failure under load.
Handling Issues
Improperly secured suspension parts can negatively impact vehicle steering and handling, reducing driver control.
Safety Concerns
In extreme cases, incorrect torque settings may result in suspension components detaching, posing a serious hazard and risking loss of steering or vehicle control

How to Identify Aluminum Chassis Components
There are some key indicators that will help you identify aluminum suspension parts.
Weight
Aluminum is significantly lighter than steel, so aluminum suspension components will feel noticeably less heavy.
Magnet Test
A simple way to differentiate – wave a magnet over the part. If it doesn't stick, it's aluminum; if it does, it's steel.
Hardware
Examine the hardware and fasteners. Aluminum parts often use specialized coatings to prevent galvanic corrosion. Some manufacturers use thread locker to secure fasteners.
Torque Specifications
Aluminum parts require a multi-step tightening process (often torque, then angle).
Manufacturer Specifications
Verify the OE part number to confirm the material composition

Tips for Proper Torquing
To prevent damage to aluminum chassis parts from improper torquing, follow these steps.
Use the Right Tool
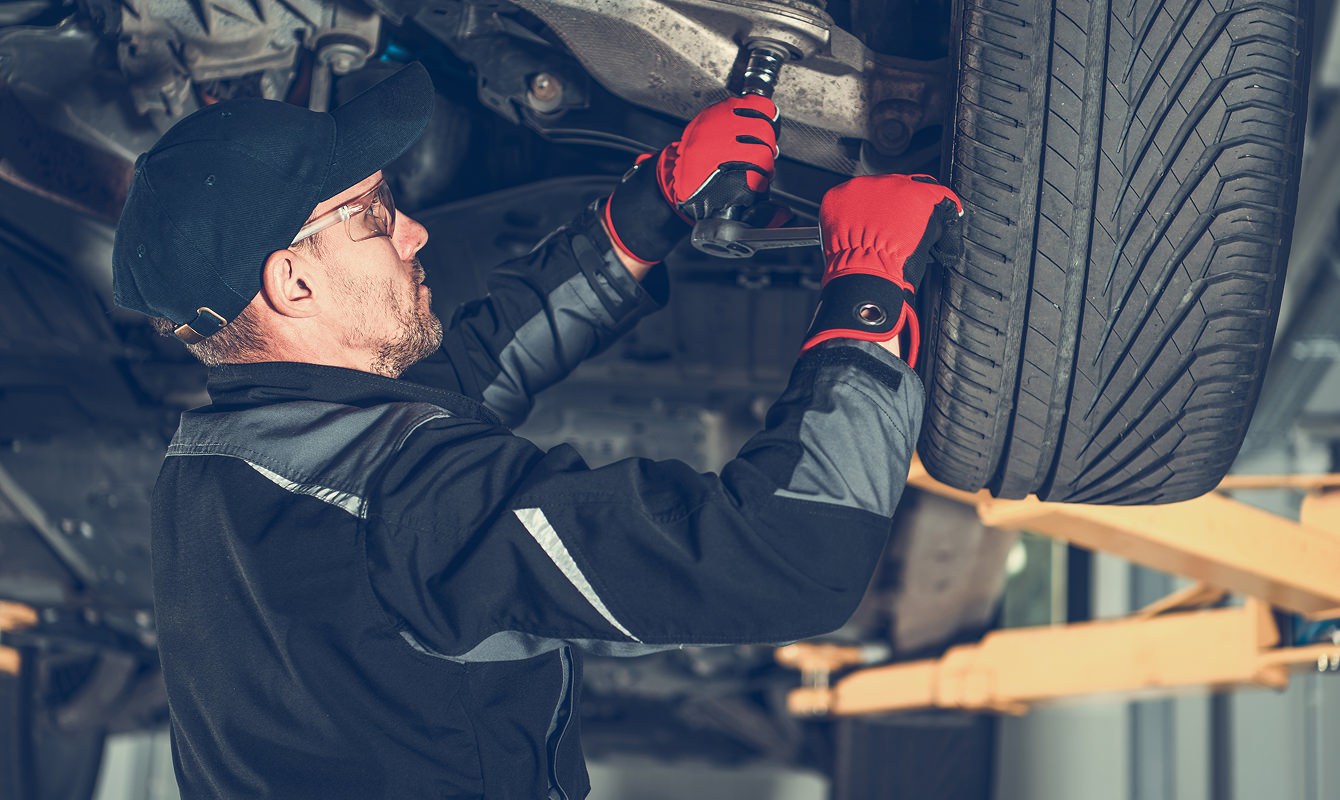
The correct tool depends on the part being replaced. A torque wrench is ideal for most jobs, while a crowfoot wrench works well for installing control arms where space is tight.
Follow Manufacturer Specifications
Always adhere to the recommended torque values to ensure proper installation and prevent damage.
Proceed Slowly
Apply torque gradually, avoiding sudden force. Tighten fasteners in incremental stages to ensure even stress distribution.
Inspect for Damage
After tightening, check for cracks, thread wear, or other signs of stress that could compromise integrity.
Ensure the cotter pin hole sits within the nut's castellation – not above it.
If the hole is misaligned, tighten slightly until it matches the next opening; never loosen. In older Dodge/Ram applications that use a poly lock nut, inspect for taper damage. It often remains hidden until the MOOG part is installed and the cotter pin hole ends up above the nut.
Application-Specific Guidance
2011-2019 Ford Explorer Lower Ball Joint
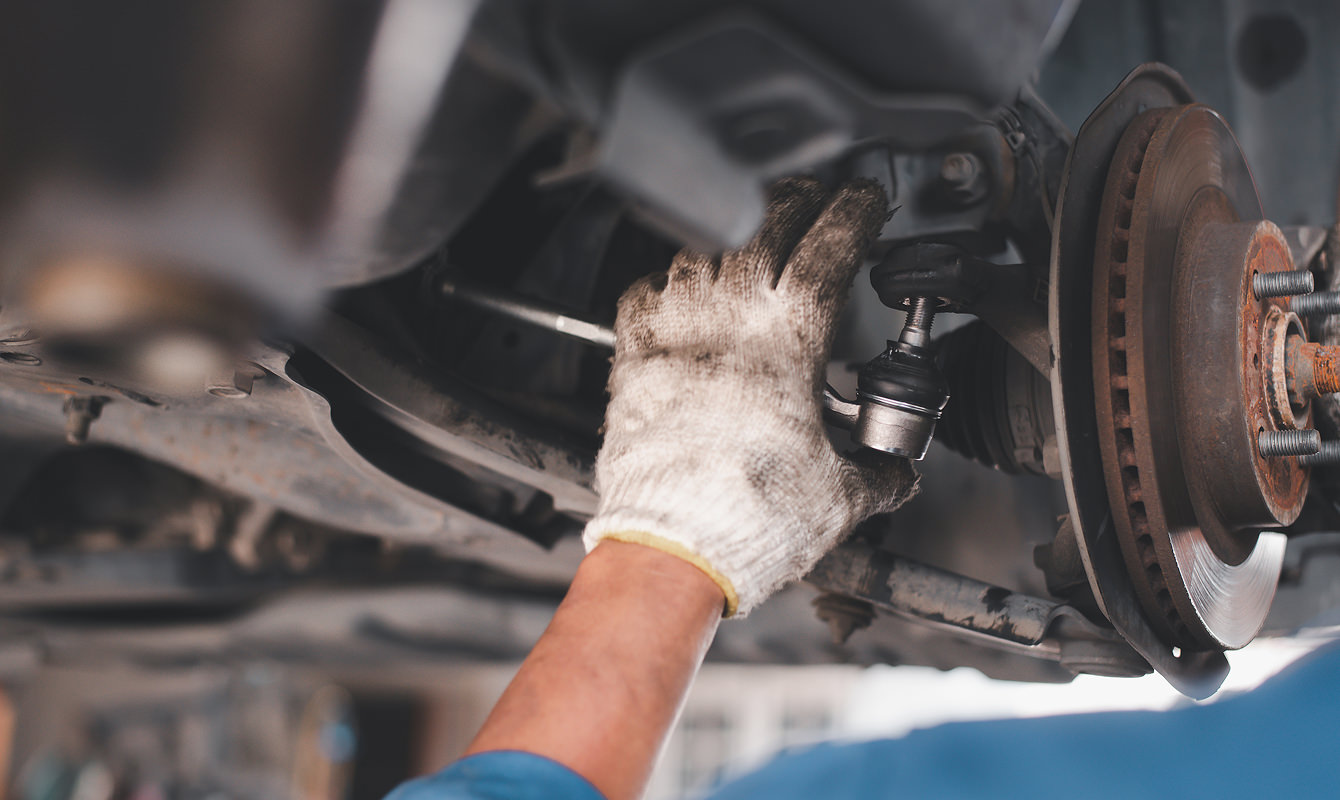
The control arm’s ball joint sits in an aluminum taper, secured by a nut and a specialized washer. During installation, the washer deforms – often giving the impression of stripped threads – yet additional torque is required to meet specification. Once properly torqued, the ball joint remains firmly seated. Insufficient torque can allow movement, resulting in axial play. This motion places stress on the washer, which may eventually split or detach, leading to serious suspension issues.
2014-2016 Chevrolet Silverado & GMC Sierra 1500 Lower Ball Joint
2014-2016 Silverado and Sierra 1500 trucks may be factory-equipped with control arms made of aluminum, stamped steel or cast iron, along with knuckles constructed from either aluminum or cast iron. Knowing which material is used is key to getting the right ball joint.
2011-Newer Ram 1500 Tie Rod End, Upper and Lower Ball Joint Torque
2011-Newer Ram 1500 trucks use aluminum knuckles and are prone to over-torquing and must be tightened to the proper specifications for the model year being serviced. For example, the torque specs for the 2011 and 2012 Ram 1500 are:
- Tie rod end nut to knuckle: 22 ft-lbs. plus 90° turn
- Lower ball joint nut to knuckle: 37.5 ft-lbs. plus 90° turn
- Upper ball joint nut to knuckle: 40 ft-lbs. plus 200° turn
For other model years, please consult the service manual for torque specifications.
Learn more about premium steering and suspension parts, find your car part, or find where to buy your auto part today.
The content in this article is for informational purposes only. You should consult with a certified technician or mechanic if you have questions relating to any of the topics covered herein. DRiV and its affiliates (including Federal-Mogul Motorparts LLC) will not be liable for any loss or damage caused by your reliance on any content.