The Issue
Certain Dodge Ram trucks and Jeep SUVs with solid four-wheel-drive front axles use a telescoping upper ball joint and a compression-loaded lower ball joint. The stud telescopes a small amount to compensate for manufacturing variances in the tolerance of the axle and knuckle ears.
This telescoping effect may result in the stud appearing:
- As if it is too long, or too short.
- As if it has excessive play.
The stud is engineered to slide in and out of the housing. Technicians should be aware that these ball joints can exhibit a fair amount of radial play – OE spec for replacement on this application is 0.060". This DOES NOT indicate excessive play or any other issue with the part; the part is within specifications and will perform reliably on the vehicle. This feature is necessary for correct part installation and function.
The Solution
Performing a pre-alignment inspection is key to avoid condemning a good part as defective, including units that have been just replaced. Affected models and MOOG part numbers include:
Telescoping Upper Ball Joint Inspection Procedure
Follow these steps to determine if the upper ball joint is within manufacturer specifications for total ball joint movement.
Step 1 – Safely raise and support the vehicle.
Step 2 – Attach dial indicator.
- Rest dial on either the front or back of the steering knuckle.
- Put dial as close to the upper ball joint as possible.
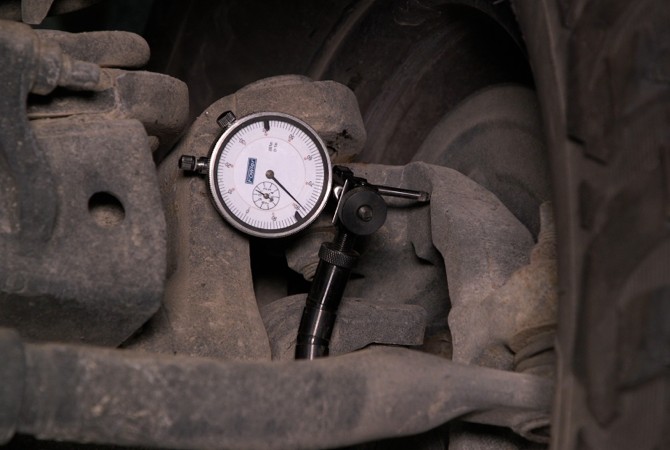
Step 3 – Set dial indicator to zero.
Step 4 – Get first reading.
- Push in the top of the tire and pull out on the bottom of the tire. Write down the reading on the dial indicator.
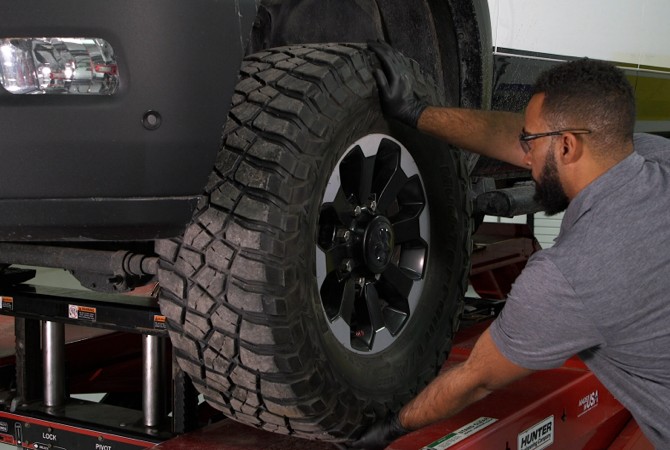
Step 5 – Reset dial indicator by turning it back to zero.
Step 6 – Get second reading.
- Pull out on the top of the tire and push in on the bottom of the tire. Write down the reading on the dial indicator.
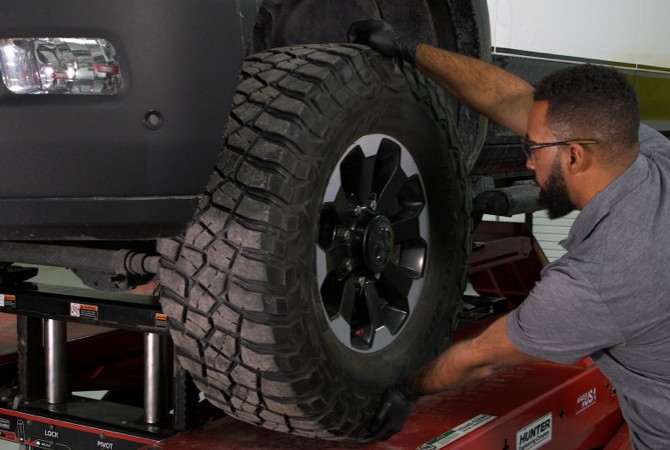
Step 7 – Add and analyze the readings.
- Get the total upper ball joint movement by adding the two readings together. If the total is above 1.52mm (0.060"), then replace the upper ball joint.
Compression-Loaded Front Lower Ball Joint Inspection Procedure
Performing a similar examination of the lower ball joint can also be helpful. Follow these steps to determine if the lower ball joint is within manufacturer specifications for total ball joint movement.
Step 1 – Safely raise and support the vehicle.
Step 2 – Attach dial indicator.
- Place the dial indicator on the flat part of the steering knuckle by the lower ball stud.
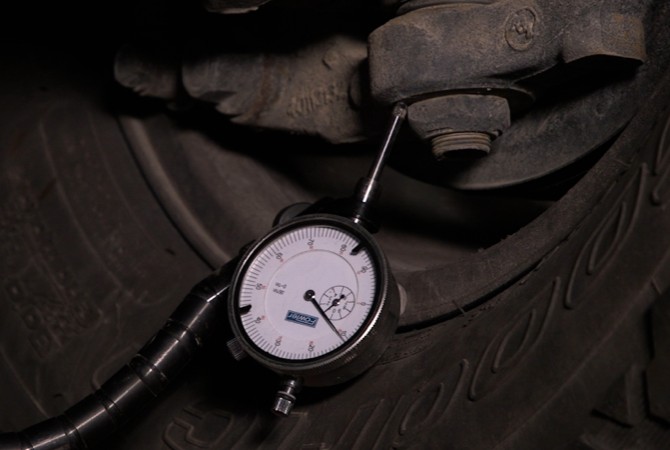
Step 3 – Set dial indicator to zero.
Step 4 – Get first reading.
- Apply pressure using a pry bar between the knuckle and the axle tube yoke. Write down the reading on the dial indicator.
- Helpful Hint – Be careful to not damage the upper ball joint grease seal.
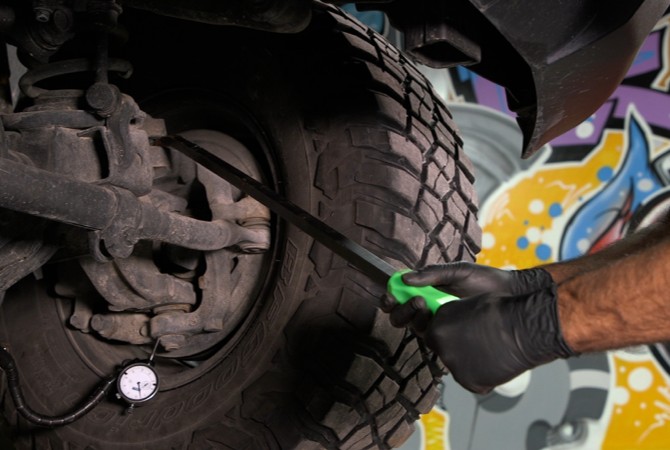
Step 5 – Reset dial indicator by turning it back to zero.
Step 6 – Get second reading.
- Using a long pry bar (similar in size to the bar in the image below), pry under the front tire near the ball joint. Write down the reading on the dial indicator.
- Helpful Hint – Only use enough force to overcome the weight of the rotor and knuckle. Excessive force could cause damage or false readings.
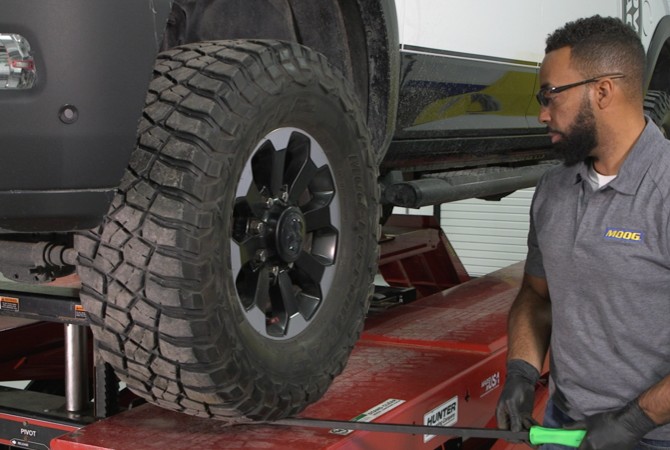
Step 7 – Add and analyze the readings.
- Get the total lower ball joint movement by adding the two readings together. If the total is above 2.29mm (0.090"), then replace the lower ball joint.
Learn more about premium steering and suspension parts, find your car part, or find where to buy your auto part today.
The content contained in this article is for informational purposes only and should not be used in lieu of seeking professional advice from a certified technician or mechanic. We encourage you to consult with a certified technician or mechanic if you have specific questions or concerns relating to any of the topics covered herein. Under no circumstances will we be liable for any loss or damage caused by your reliance on any content.